
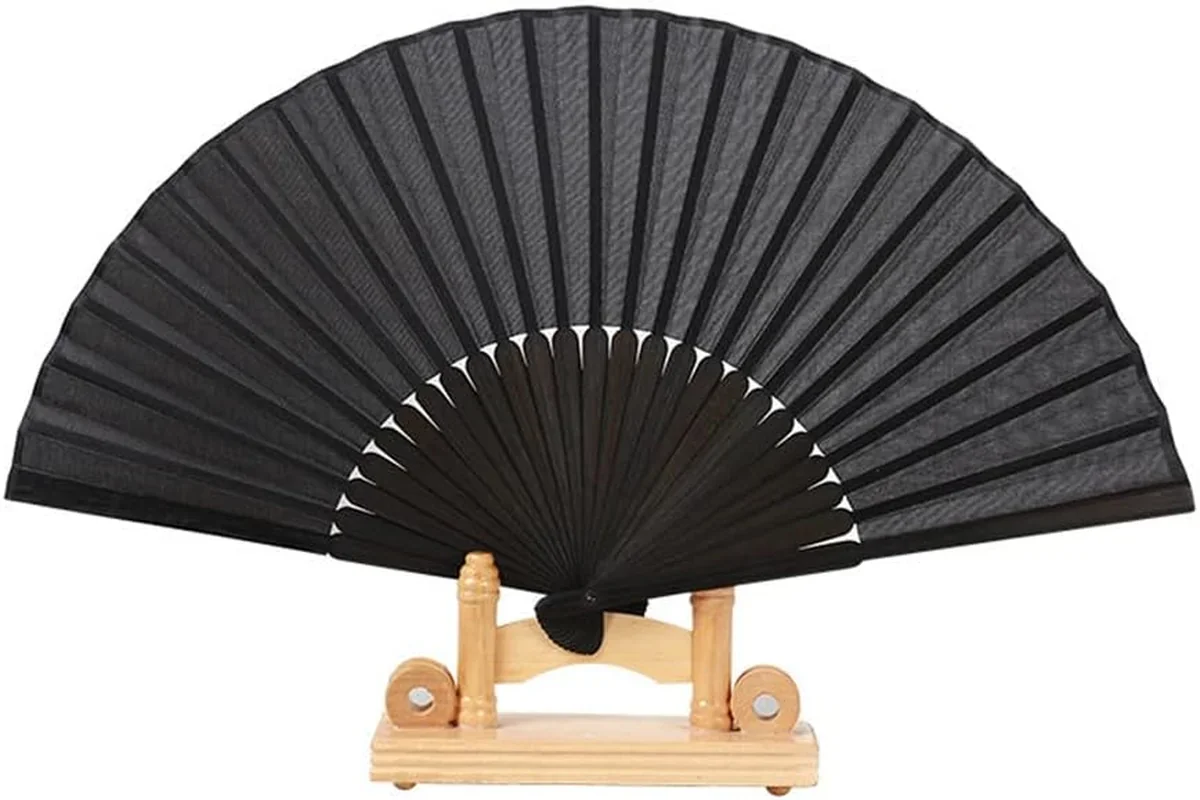
Start with visible damage and wrong printing
Open the carton, compare the fan with the approved sample and inspect both sides before testing movement. Look for the specific problems below. Keep damaged pieces separate so they are not handed out or sold by mistake.
| Area | What to look for | Why it matters |
|---|---|---|
| Outer guards and ribs | Splinters, cracks, broken tips or a rib missing from the specified count | May affect handling or support |
| Pivot joint | Loose, missing or projecting hardware; damaged material around the joint | Can affect opening and keep the ribs from staying together |
| Paper or fabric leaf | Tears, punctures, lifting edges, detached sections or new creases outside the intended folds | Can change appearance or opening |
| Printed content | Wrong names, dates, artwork version, front/back pair or orientation | The fan may be unusable for its intended event |
| Print finish | Blurred letters, ink smears, missing print or unwanted marks | Can make text or branding difficult to read |
| Individual pack | Crushed folds, rubbing, trapped tassels or labels for the wrong design | May damage the fan or send the wrong item to a customer |
Inspect rough or broken areas visually; do not run a bare hand over a suspected splinter. Stop if a fan catches or has loose hardware rather than forcing it through the test.
Know what the approved fan should look like
Have the physical sample, final artwork for both sides, dimensions and packing instructions beside you. Include the accepted range of natural wood or bamboo appearance when relevant. A grain difference is not automatically a defect, while a crack should not be dismissed as natural variation.
Check construction before calling an exposed rib a fault. Many fabric fans are intentionally unbacked. Compare the ordered design: missing backing on a double-layer model is a different issue from an intentionally visible frame.
Do not invent a tolerance after finding a difference. If the order leaves a requirement unclear, identify the affected stock and resolve it before the acceptance decision.
Inspect each selected fan in the same order
- Identify it. Note the design and carton. Compare names, date and the two artwork sides with the correct files.
- Look while closed. Check guard alignment, visible edges, the pivot and any protruding parts.
- Open gently. Follow the intended hand motion. Watch for ribs that catch, uneven spreading, a leaf pulling away or a joint that moves unexpectedly.
- Read both sides. Check small text and important image details across the folds. Compare important colors with the physical reference under the chosen viewing conditions.
- Close and pack it. Follow the folds without crushing them, then insert and remove the fan from its finished pack.
Use the opening method and repeat count chosen for the inspection. Do not turn an ordinary check into a snap-opening test. A few successful cycles do not establish a service life. Open and close the fan slowly with both hands.
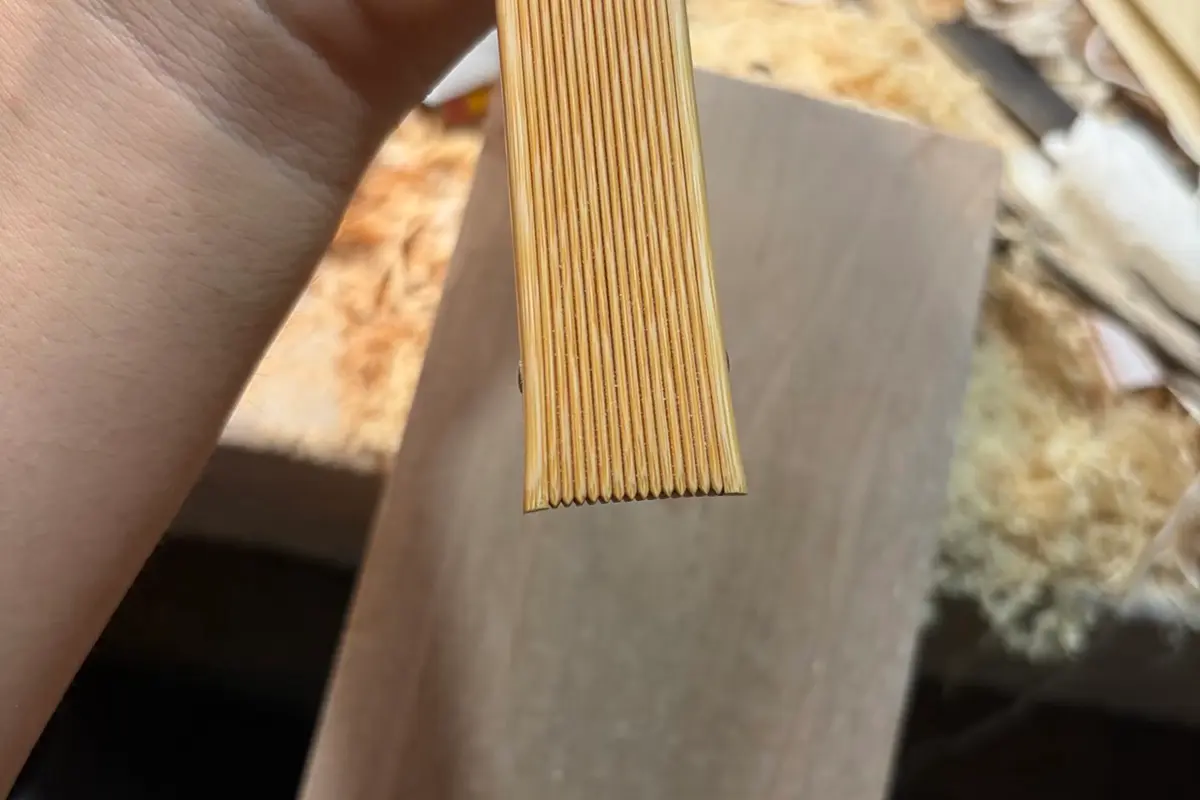
Measure from the same points
Check closed length, open width and any other specified dimensions with a suitable ruler or caliper. Use the same endpoints and opening position for every fan; otherwise two measurements may describe different things. The size guide separates overall fan size from rib length and leaf depth.
Use the dimensions and tolerances agreed for the order. Check the measuring method again if a reading is near a limit, and apply the agreed acceptance rule without rounding an out-of-range measurement into tolerance.
For packaging, check the complete fan with its accessories. Record where it catches or presses, not only whether it goes into the box.
Select samples across the order
Use the inspection plan’s sample quantity for the shipment or batch it covers. Selection should cover the relevant cartons, batches and artwork versions; choosing only easy-to-reach fans from one carton can miss problems elsewhere.
Acceptance sampling uses a random sample to decide whether to accept a lot. It does not establish the exact defect percentage of every fan in the shipment.
Before inspection, settle the sample size, selection method, defect categories and acceptance limits with the responsible buyer, supplier or inspector. There is no universal sample count or pass rate for all fan orders. If no plan exists, agree on one before deciding from a handful of pieces.
Count faulty fans and faults separately
Record faulty fans and individual faults separately. A fan with several faults counts once in the faulty-fan total, while each fault is recorded in its own category.
Calculate the observed faulty-fan percentage as faulty fans ÷ inspected fans × 100. This describes the inspected sample, not the exact defect rate of the whole shipment. Apply the agreed acceptance limits and defect categories; a wrong event date and a minor cosmetic mark can have different consequences.

Record the defect and carton number
Give each affected fan a carton and item reference. Take one photo showing the whole fan and another showing the fault. For an opening problem, add a short video of the normal motion that reveals it.
Record the carton, item, affected part and point in the opening motion where the problem appears. Send these details with the photos so we can identify what needs investigation. Keep the fan in its observed condition.
For suspected shipping damage, photograph the carton and internal arrangement before repacking. The packaging guide helps connect pressure marks or scuffs with contact points.
Recheck the correction
Keep affected stock identifiable while sorting, repair or replacement is decided. Check the corrected goods against the same requirement: a photograph of a reattached leaf does not replace an opening test.
Follow the agreed reinspection plan and keep the original findings. Do not keep selecting extra convenient samples until the result looks acceptable. Confirm which stock was corrected and which evidence supports its release.